
Our home has high ceilings with a lot of windows so outfitting all the windows with curtains is a task in and of itself. Luckily, the previous owners left the window blinds in one of the guest rooms and the master and also left most of the curtains in the living room and kitchen.
Although the curtains aren’t really our style, we were really glad to have them because it saved us spending a lot of money up front just on curtains. Two windows still in need of curtains were in our dining room area. Since we have tall windows throughout the house, we needed curtains at least 96 inches long which are difficult to find in the store. We basically decided we would need to order curtains online but just could not find something we liked that wasn’t super expensive. In the end, Pinterest came to the rescue with tons of links to DIY curtain ideas. Even though I can sew, I do not have a sewing machine and wanted a quick DIY project to complete. I was skeptical about doing a no sew project, but I can say I am happy with the results. I ended up combining different tutorials from Pinterest to make these no sew curtain panels.
Here are the materials you will need:
- Fabric (I ended up ordering 6 yards)
- 1 Roll of Stitch Witchery (I purchased mine from JoAnn’s Fabrics)
- Iron and Ironing board
- Damp Cloth
- Quilting Pins
- Scissors
- Curtain Clip Rings (optional; I purchased mine from Target)
- Curtain Rod
My first step was to choose the fabric. I just adore all of April Rhodes‘ designs and, previously, my Mom made us some throw pillows from April’s Arizona fabric collection. Here are some of the pillows below

For the curtains, we wanted something that would bring a little bit of color and warmth to the room and, since we loved the fabric for our pillows so much, we decided to use Wandering Lands from April’s Wanderer collection this time. The perk of making your own curtains is being able to choose whatever fabric/design you want. I ordered a few extra yards to be on the safe side.
Once the fabric arrived, I set up the ironing board and tacked down the side hems of the curtains. I did a 1 inch hem on the sides and did a 2.5 inch hem for the top. Even though we ended up using curtain clip rings to hang the curtains, I made the top hem big enough so if we want to insert a rod into the curtain we have the option.

After setting up my hem, I ironed on the stitch witchery. The directions said to use a damp cloth and to press the iron down for 10 seconds on each side. I believe there are other types of no sew hem methods that do not require the damp cloth but the stitch witchery was one of the cheaper options at the store. I was skeptical about whether the stitch witchery would work or not but was pleasantly surprised with the results. There were only a few areas I needed to go over more than once and my advice is to let it cool down all the way before checking to make sure it is secure and, although a little tedious, make sure you iron both sides of the fabric.

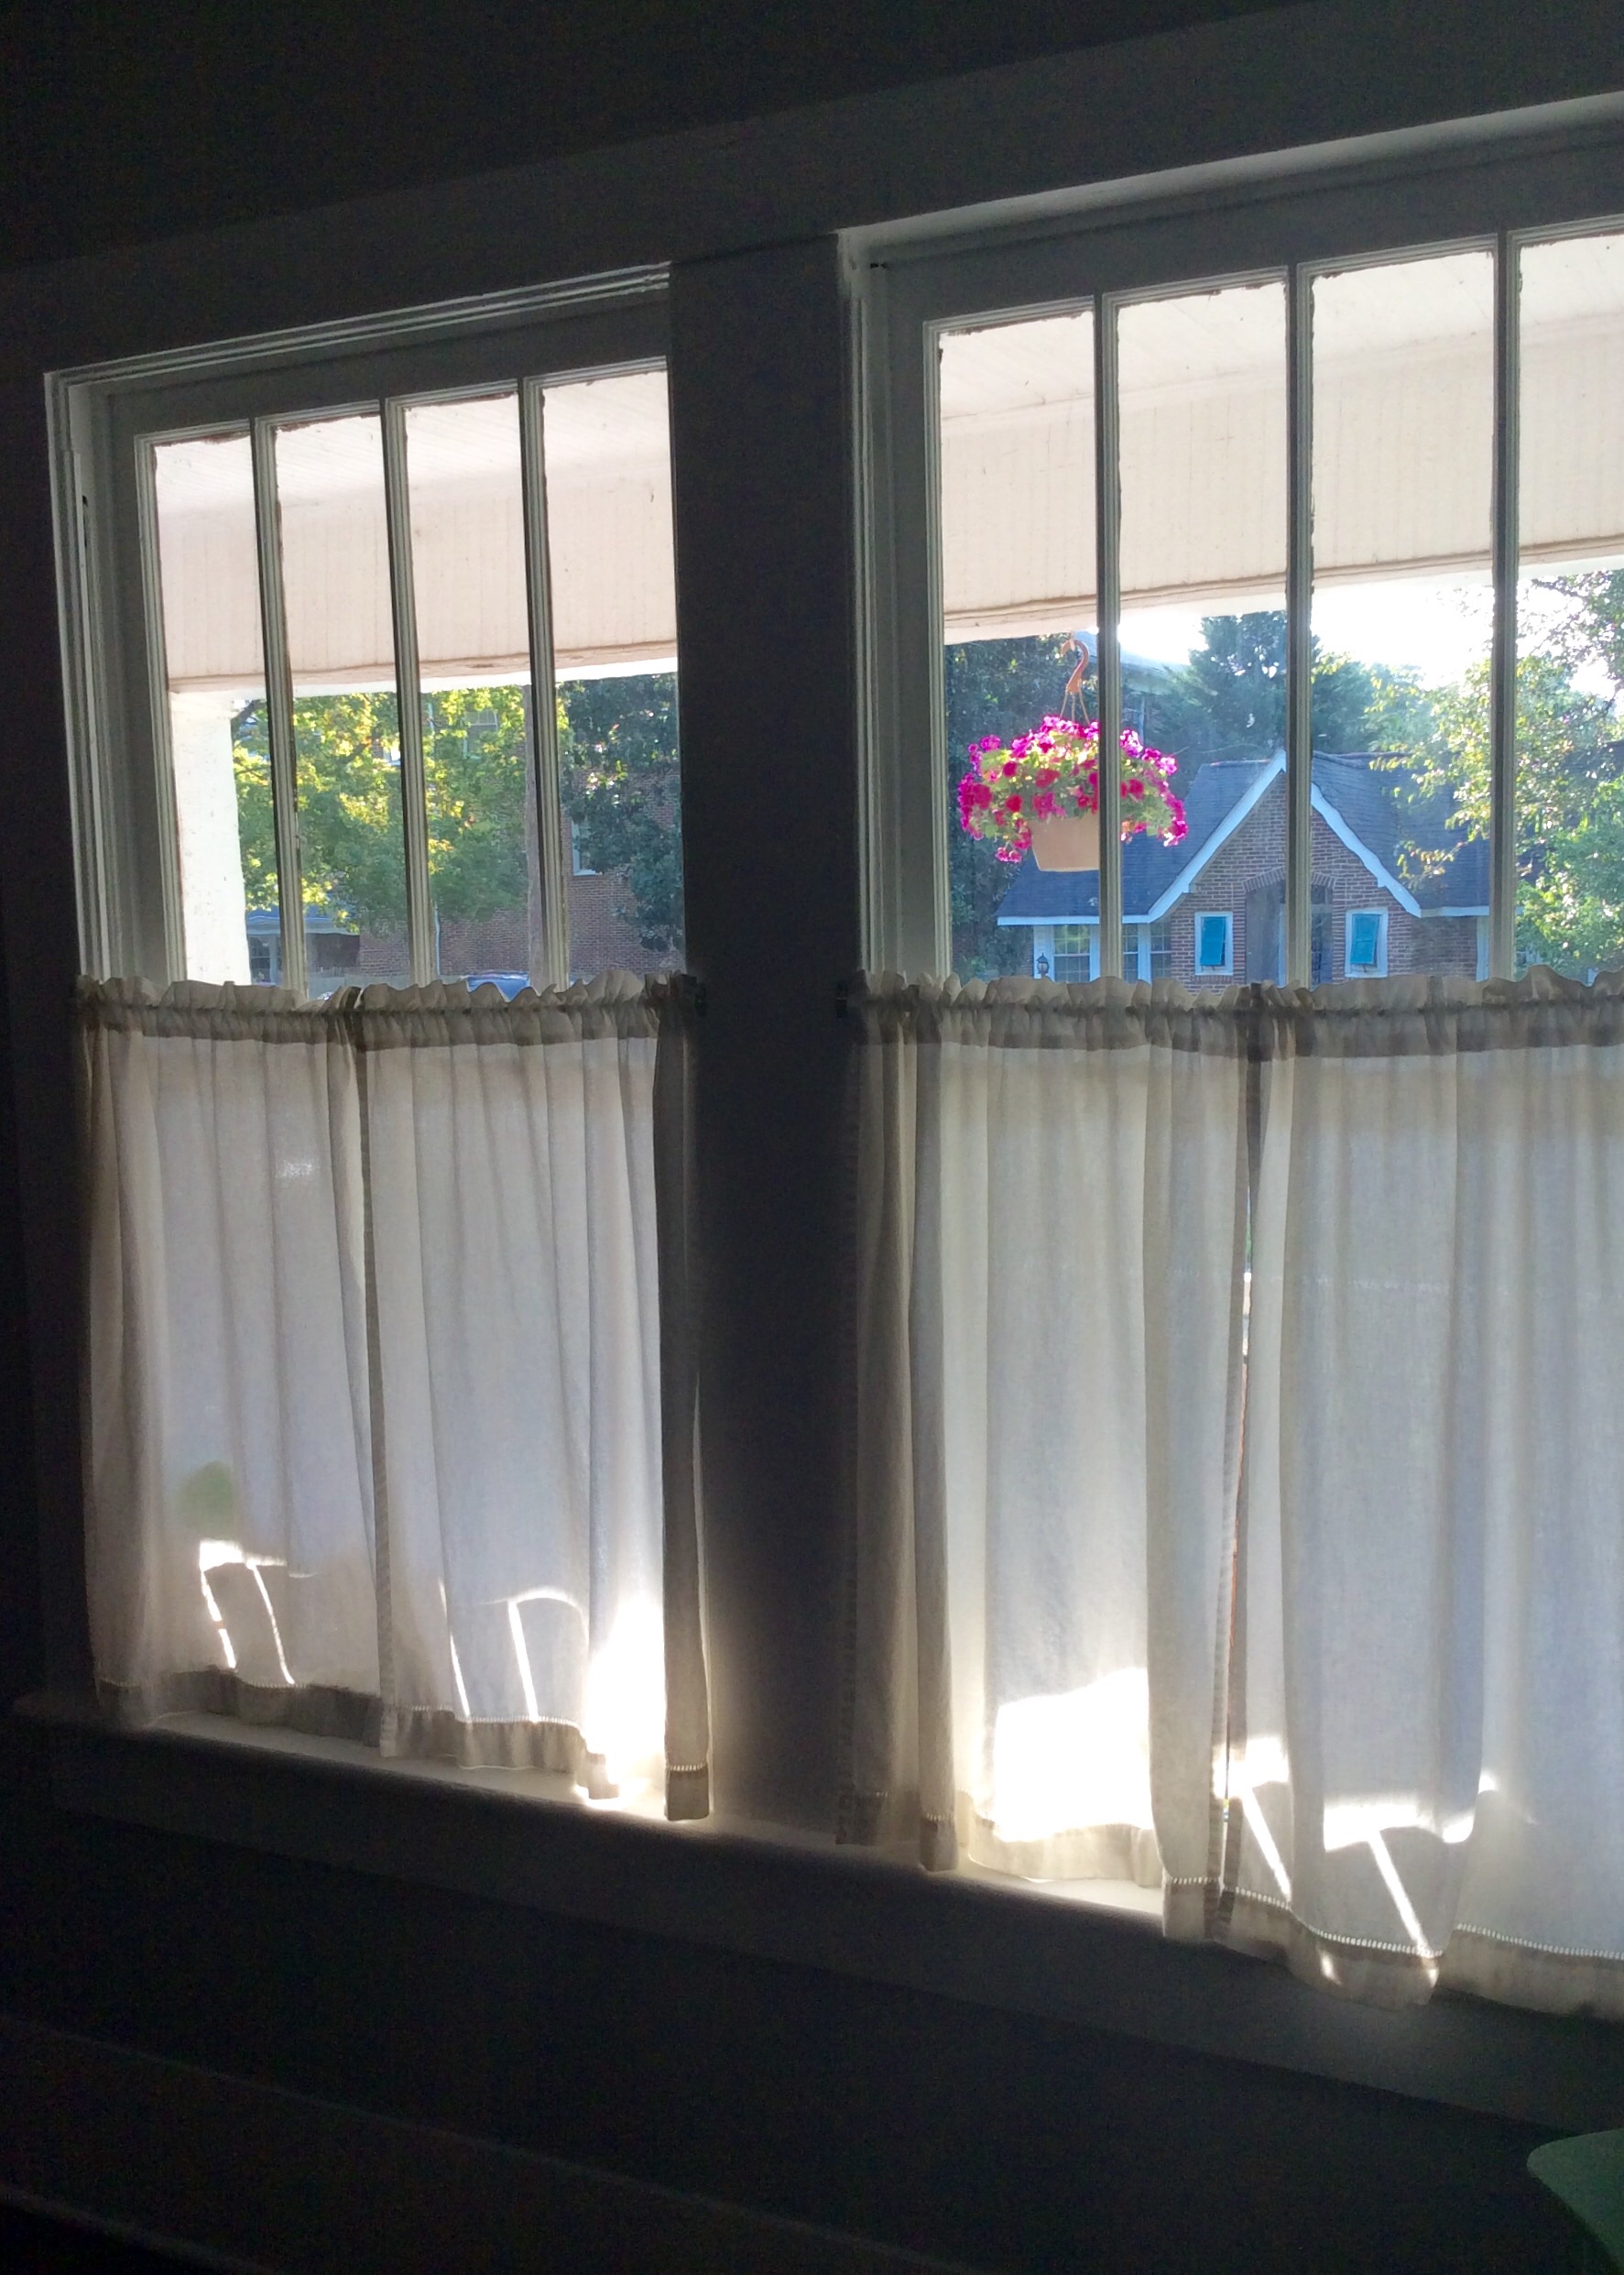
After I finished ironing all the hems, I went ahead and ironed the curtains too just to get some wrinkles out. Then, they were ready to go! I attached the curtain clips and here is the final result.

Also, since I had a few extra yards left over, I made a little curtain for our front door too.

That’s it! Super simple. I’m very happy with the outcome of this project and will probably never buy curtains again. I did not line the back of these because I wanted the area to still get a lot of light, but it would probably be pretty easy if you are interested in a thicker curtain. The best part? These curtains cost less than the ones we would have purchased online and we have the custom look we wanted!
